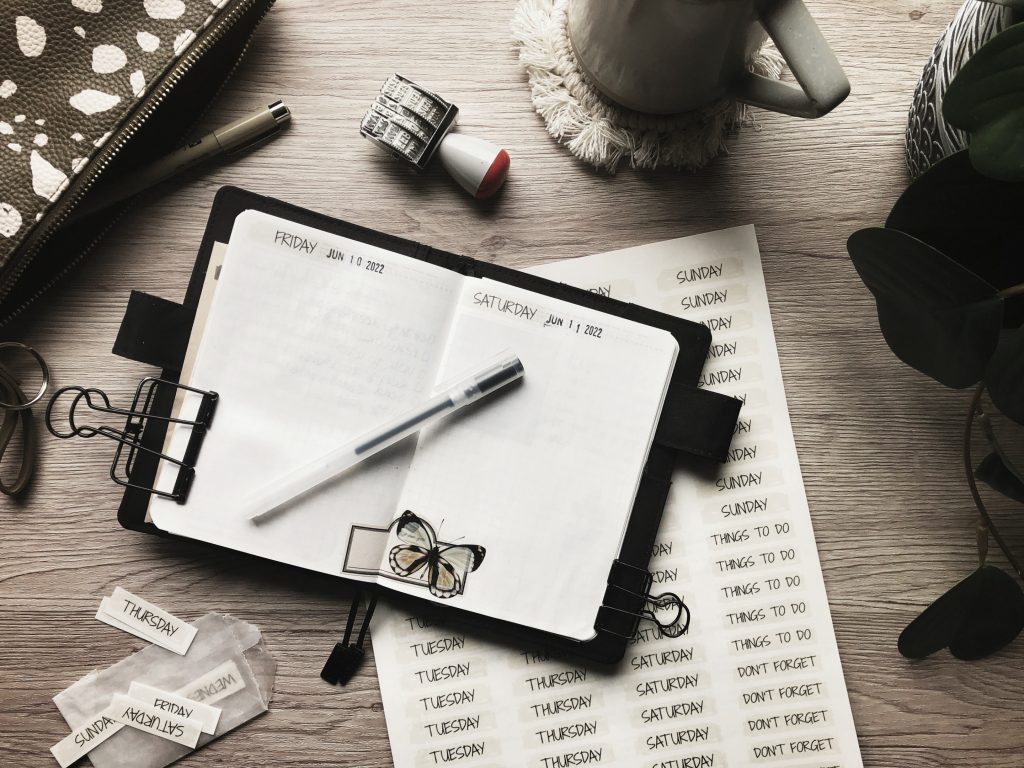
This is my daily planner. The Stalogy Editor’s Series, half-year, in the A6 size. The pages are blank except for very faint gridlines which are numbered, and I love. Also very faint (and microscopic) months, days and numbers 1-31 at the top of the page. Which I ignore.
And so ahead of each week, I set up a page for each day. I predecorate each spread with a little collage cluster of papers, stickers, and washi tape so it looks pretty and inviting when I turn to it. At the top of the page I stamp the date, and add a day-of-the-week sticker which I’ve made. Hence the point of this post.
It’s possible to buy stickers like this. Lots of artists make beautiful ones and sell them on etsy or in their own shops or Patreons, often along with full kits of co-ordinating decorative and functional stickers. So that’s an option.
Or, you can make your own so that they’re exactly how you want them, with nothing extra.
What i use
- Sticker Paper. This is the paper I use. I buy it at Staples or on Amazon, and it’s so versatile, I use it for lots of projects and handmade things. This glossier version is also an option.
- Online Template. The Avery Design and Print Online website is a great tool. Again, I use it a lot for my handmade things. Especially for making jam jar labels. And also to create my planner stickers.
I use the template to create the design in the size and spacing I need, but then print it onto the full sheet sticker paper and cut it apart myself with a paper cutter. Then I store the individual stickers in a tiny envelope which tucks into my planner cover for easy access when I need it.
Just for you, if you like this design, here is the PDF for you to have.
xx
stationery in the photo
- notebook
- notebook cover (sold out, waiting for next year’s to be released)
- pen
- butterfly sticker
- date stamp
- skeleton clip
- pencil case
- glassine envelope
P.S. I’m pleased to say that some birds have already discovered our new little tree and have sat perched in the shady branches.
